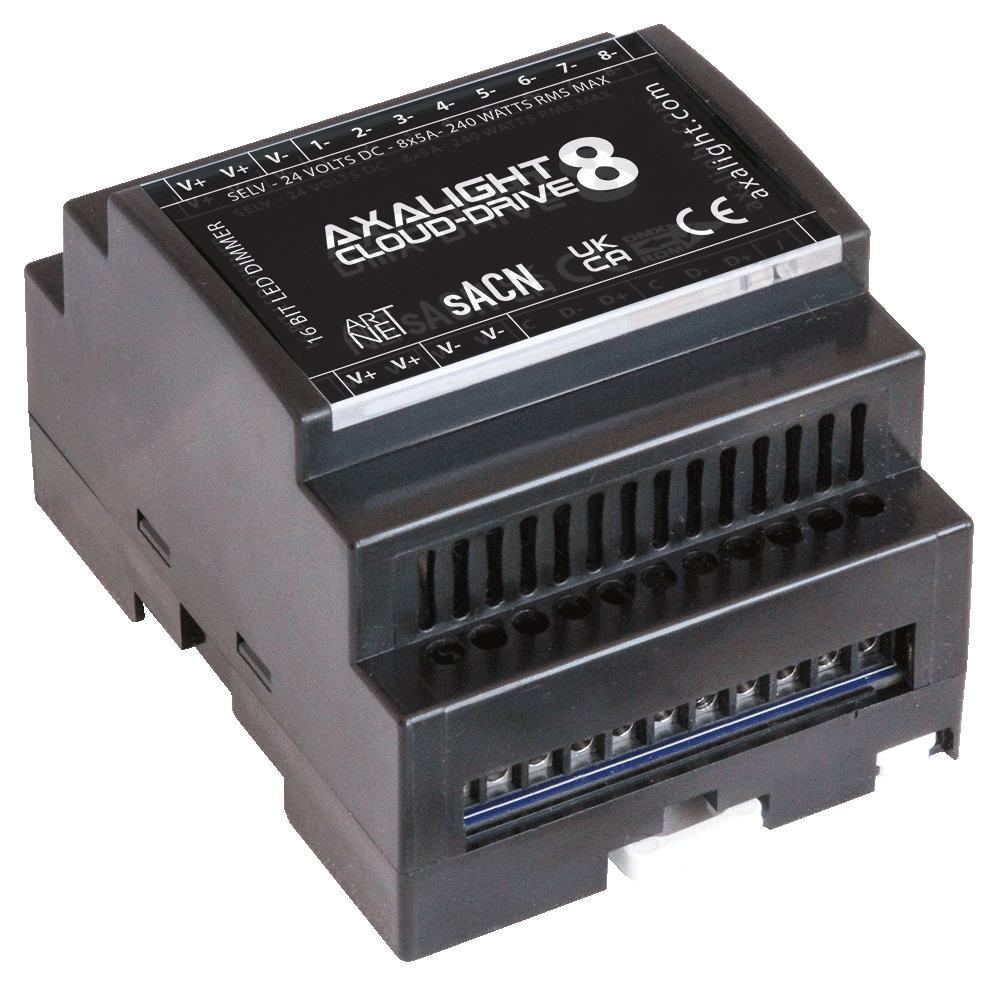
CLOUD-DRIVE 8 - CD8

WFI/ARTNET 16bit low voltage dimming and DIN rail flexibility for constant voltage LED applications.
(for wired DMX see our DMX DRIVE 8)

Z

FEATURES

  • WiFi/ArtNet wireless control input
  • Internal medium range antenna (~15m)
  • 8 x CV constant voltage LED control outputs
  • 8-bit personality mode (8 channel footprint)
  • 16-bit personality mode (16 channel footprint)
  • Smoothed or non-smoothed personality modes
  • Compact DIN rail format
  • SELV DC supply input
  • Screw terminals (pluggable)
Z

PROTOCOL

  • WiFi 2.4 Ghz (2.412 ~ 2.484 GHz)
  • 802.11 b/g/n (n up to 150 Mbps)
  • Internal 3 dBi antenna (external options to 15 dBi)
  • Configurable SSID
  • WEP/WPA-TKIP/WPA2-CCMP security
  • DHCP or manual IP configuration
  • Broadcast ArtNet (configurable universe and start address)
  • Broadcast sACN (configurable universe and start address)

CLOUD-DRIVE 8

WiFi ArtNet

g

8 LED Output Ch.

16 & 8 Bit Dimming

24 Volts SELV

DIN Rail Mount

IP22 Dry Spaces

ELECTRICAL

  • 24 Volt DC supply input
  • Common anode (+)
  • 8 x controlled cathode (-) outputs
  • 5 Amps per channel load peak (120W)
  • 10 Amps total RMS continuous load (240W)
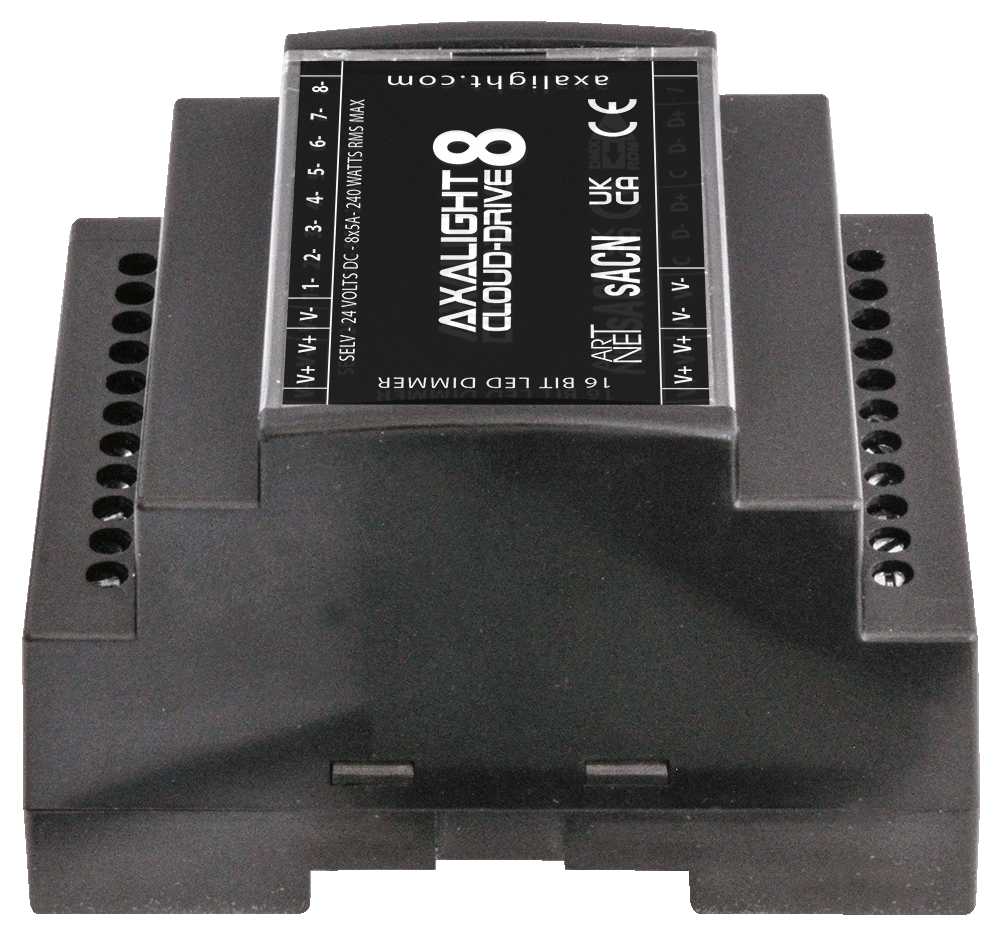
1

PHYSICAL

  • 70W x 91H x 60D mm (110H with fixing tabs) 
  • 4 DIN rail modules wide 
  • 150 grams product weight 
  • IP20 protection rating 
  • -20° ~+50°C ambient temp 

CONNECTIONS

  • V+ | Supply Input +24 Volts
  • V- | Supply Input 0 Volts (Common)
  • 1- | Channel 1 output
  • 2- | Channel 2 output
  • 3- | Channel 3 output
  • 4- | Channel 4 output
  • 5- | Channel 5 output
  • 6- | Channel 6 output
  • 7- | Channel 7 output
  • 8- | Channel 8 output
  • Note | All V+ are linked internally
  • Note | All V- are linked internally

IMPORTANT

If removing cover, ensure correct orientation on refitting!

INSTRUCTIONS

  • For professional installation only
  • Use SELV power supplies of 24 Volts DC
  • Ensure power supplies are equiped with short circuit and over current protection
  • Mount in vertical orientation with air vents slots top and bottom
  • Ensure adequate airflow / ventiallation
  • Make all connections before energising
  • Test loads before connection to DD8
  • Use RDM equiped controller/tester to configure DMX start address and personalaties

AXALIGHT DIN-DRIVE 4 DMX/RDM
CONFIGURATIONSETTINGS

4 DIGIT Display 8888

DisplaySettingDefault
A.xxxDMX Address001
cH.xxDMX Channel Patch04
bT.xx8 or 16 bit PWM Resolution16
PF.xxPWM Frequency01
9A.xxDimming Gamma1.5
dP.xxDecoding Personality1.1

MENU BUTTONS

[BACK]    [ENTER]    [UP]    [DOWN]

DISPLAY CURRENT SETTINGS

Press [UP] [DOWN] to scrool and display current the settings.

DMX Signal indicator

When DMX is received, the [•] point indicator after the first display digit will light.

Restore Factory Defaults

Press and hold down [BACK] and [ENTER] until the display turns off. 

A.xxx = DMX Start Address

Select menu A.xxx, press [ENTER], the display will flash, press [UP] [DOWN] to set DMX address (hold for fast change), press [BACK] to confirm.

BT.xx = PWM Resolution

Select menu BT.xx, press [ENTER], display will flash, press [UP] [DOWN] to select 08 or 16 bit, press [BACK] to confirm.

9A.xx = DIMMING GAMMA CURVE

Select menu 9A.xx, press [ENTER], display will flash, press [UP] [DOWN] to select 0.1~9.9, press [BACK] to confirm.

PF.xx = PWM Frequency

Select menu PF.xx, press [ENTER] , the display will flash, press [UP] [DOWN] to select 00~30, press [BACK] to confirm.

DISPLAYSETTING
PF.00500 Hz
PF.011 kHz
PF.02~302~30 kHz


CH.xx = DMX Channel PATCH

Select menu CH.xx, press [ENTER], display will flash, press [UP] [DOWN] to set DMX channel patch , press [BACK] to confirm.

Example the DMX start address is set to [001]

DISPLAYCONTROL CHANNELSOUTPUT PATCH
CH.011All 4 outputs on address [001]
CH.022Outputs 1 & 3 on address [001]
Outputs 2 & 4 on address [002]
CH.033Outputs 1 & 2 on address [001] & [002]
Outputs 3 & 4 on address [003]
CH.044Outputs 1, 2, 3, 4 on address [001],  [002],  [003], [004]


DP.xx = DECODING PERSONALITY - 1 CH

Select menu dP.xx , press [ENTER] , display will flash, press [UP] [DOWN] to select the decoding personality, press [BACK] to confirm.

DMX ChanneldP.1.1dP.2.1
1Out 1Out 1 Coarse
2Out 2Out 1 Fine

DP.xx = DECODING PERSONALITY - 2 CH

Select menu dP.xx , press [ENTER] , display will flash, press [UP] [DOWN] to select the decoding personality, press [BACK] to confirm.

DMX ChanneldP.1.1dP.2.1dP.3.2
1Out 1Out 1 CoarseOut 1
2Out 2Out 1 FineOut 2
3Out 2 CoarseGrand Master
4Out 2 Fine

DP.xx = DECODING PERSONALITY - 3 CH

Select menu dP.xx , press [ENTER] , display will flash.
Press [UP] [DOWN] to select the decoding personality, press [BACK] to confirm.

DMX ChanneldP.1.1dP.2.1dP.4.3dP.5.4
1Out 1Out 1 CoarseOut 1Out 1
2Out 2Out 1 FineOut 2Out 2
3Out 3Out 2 CoarseOut 3Out 3
4Out 2 FineGrand MasterGrand Master
5Out 3 CoarseStrobe Effects
6Out 3 Fine

DP.xx = DECODING PERSONALITY - 4 CH

Select menu dP.xx , press [ENTER] , display will flash.
Press [UP] [DOWN] to select the decoding personality, press [BACK] to confirm.

DMX ChanneldP.1.1dP.2.1dP.5.4dP.6.4
1Out 1Out 1 CoarseOut 1Out 1
2Out 2Out 1 FineOut 2Out 2
3Out 3Out 2 CoarseOut 3Out 3
4Out 4Out 2 FineOut 4Out 4
5Out 3 CoarseGrand MasterGrand Master
6Out 3 FineStrobe Effects
7Out 4 Coarse
8Out 4 Fine